A lot of people today are choosing natural or eco-friendly products for their lifestyle needs. You’ll find that a lot of beauty products on the shelves today boast of all natural ingredients. Not just that, DIY concoctions for home facials are also popular in the internet. Those who are searching for a quick and easy way to an all-natural home facial can check out the Aztec Secret Indian Healing Clay. This is because it is said to be effective in cleansing and nourishing the skin. Here is more about it.
Aztec Secret Indian Healing Clay is one of the most popular and best performing brands of Indian healing clay according to a consumer product review site. Its main ingredient is bentonite clay sourced from Death Valley, California. The use of clay for beauty routines date back to Cleopatra’s era and still continue to be popular in this age. As for the Aztec clay, it has over 50 minerals that help in nourishing and healing the skin. When applied on the skin, the clay’s negative electron charge lifts pimples and blackheads into the clay bed along with other toxins in the epidermis. Thus giving your skin a deep cleanse for a refreshed and healthy look.
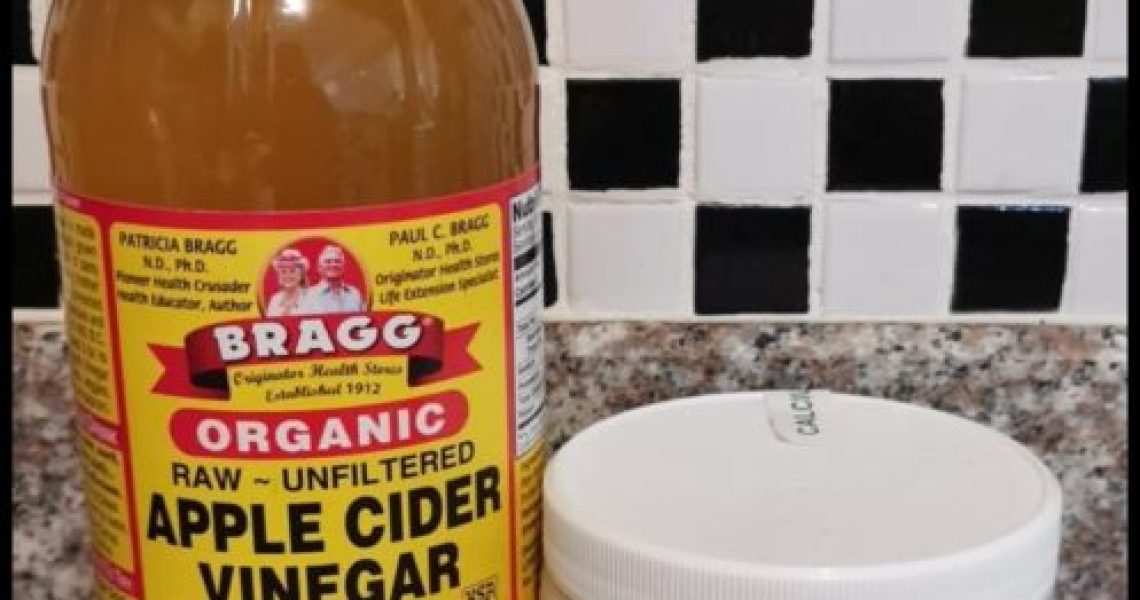
Aside from being all-natural, this brand of Indian Healing Clay is also very easy to use. All you have to do is mix it with equal parts of water and you’re good to go. But if you want your facial clay to be more effective, then it is recommended that you use apple cider vinegar in lieu of water. This combination of clay and apple cider vinegar has been used for natural treatments as early as the 16th century.
When using the Aztec Secret healing clay, it best to have a bowl and spatula made from pottery, wood, or glass and follow the suggested recipe. Also, metallic bowls and mixing implements are to be avoided in preparing your healing clay. Here is a quick guide on how to make your Aztec DIY home facial.
- Mix equal parts of Aztec Secret Indian Healing Clay and apple cider vinegar in a wooden, glass, or clay bowl until it turns into a smooth paste.

2. Apply a 1/8 to 1/4 inch layer of clay to your face and let it dry. You may also use apply clay to target areas for spot treatment or to the body for a full cleanse.
3. Those who have sensitive or delicate skin are advised to limit drying time to 5 minutes. However, those who have normal skin require a 15-20 minute drying time to get the best results.
*Note: It is normal to feel a tightening sensation as the clay dries up.
4. Remove clay by washing face with warm water.
*Note: You may notice slight redness on your skin or red spots after rinsing the clay but it is expected to disappear within 30 minutes or so.


